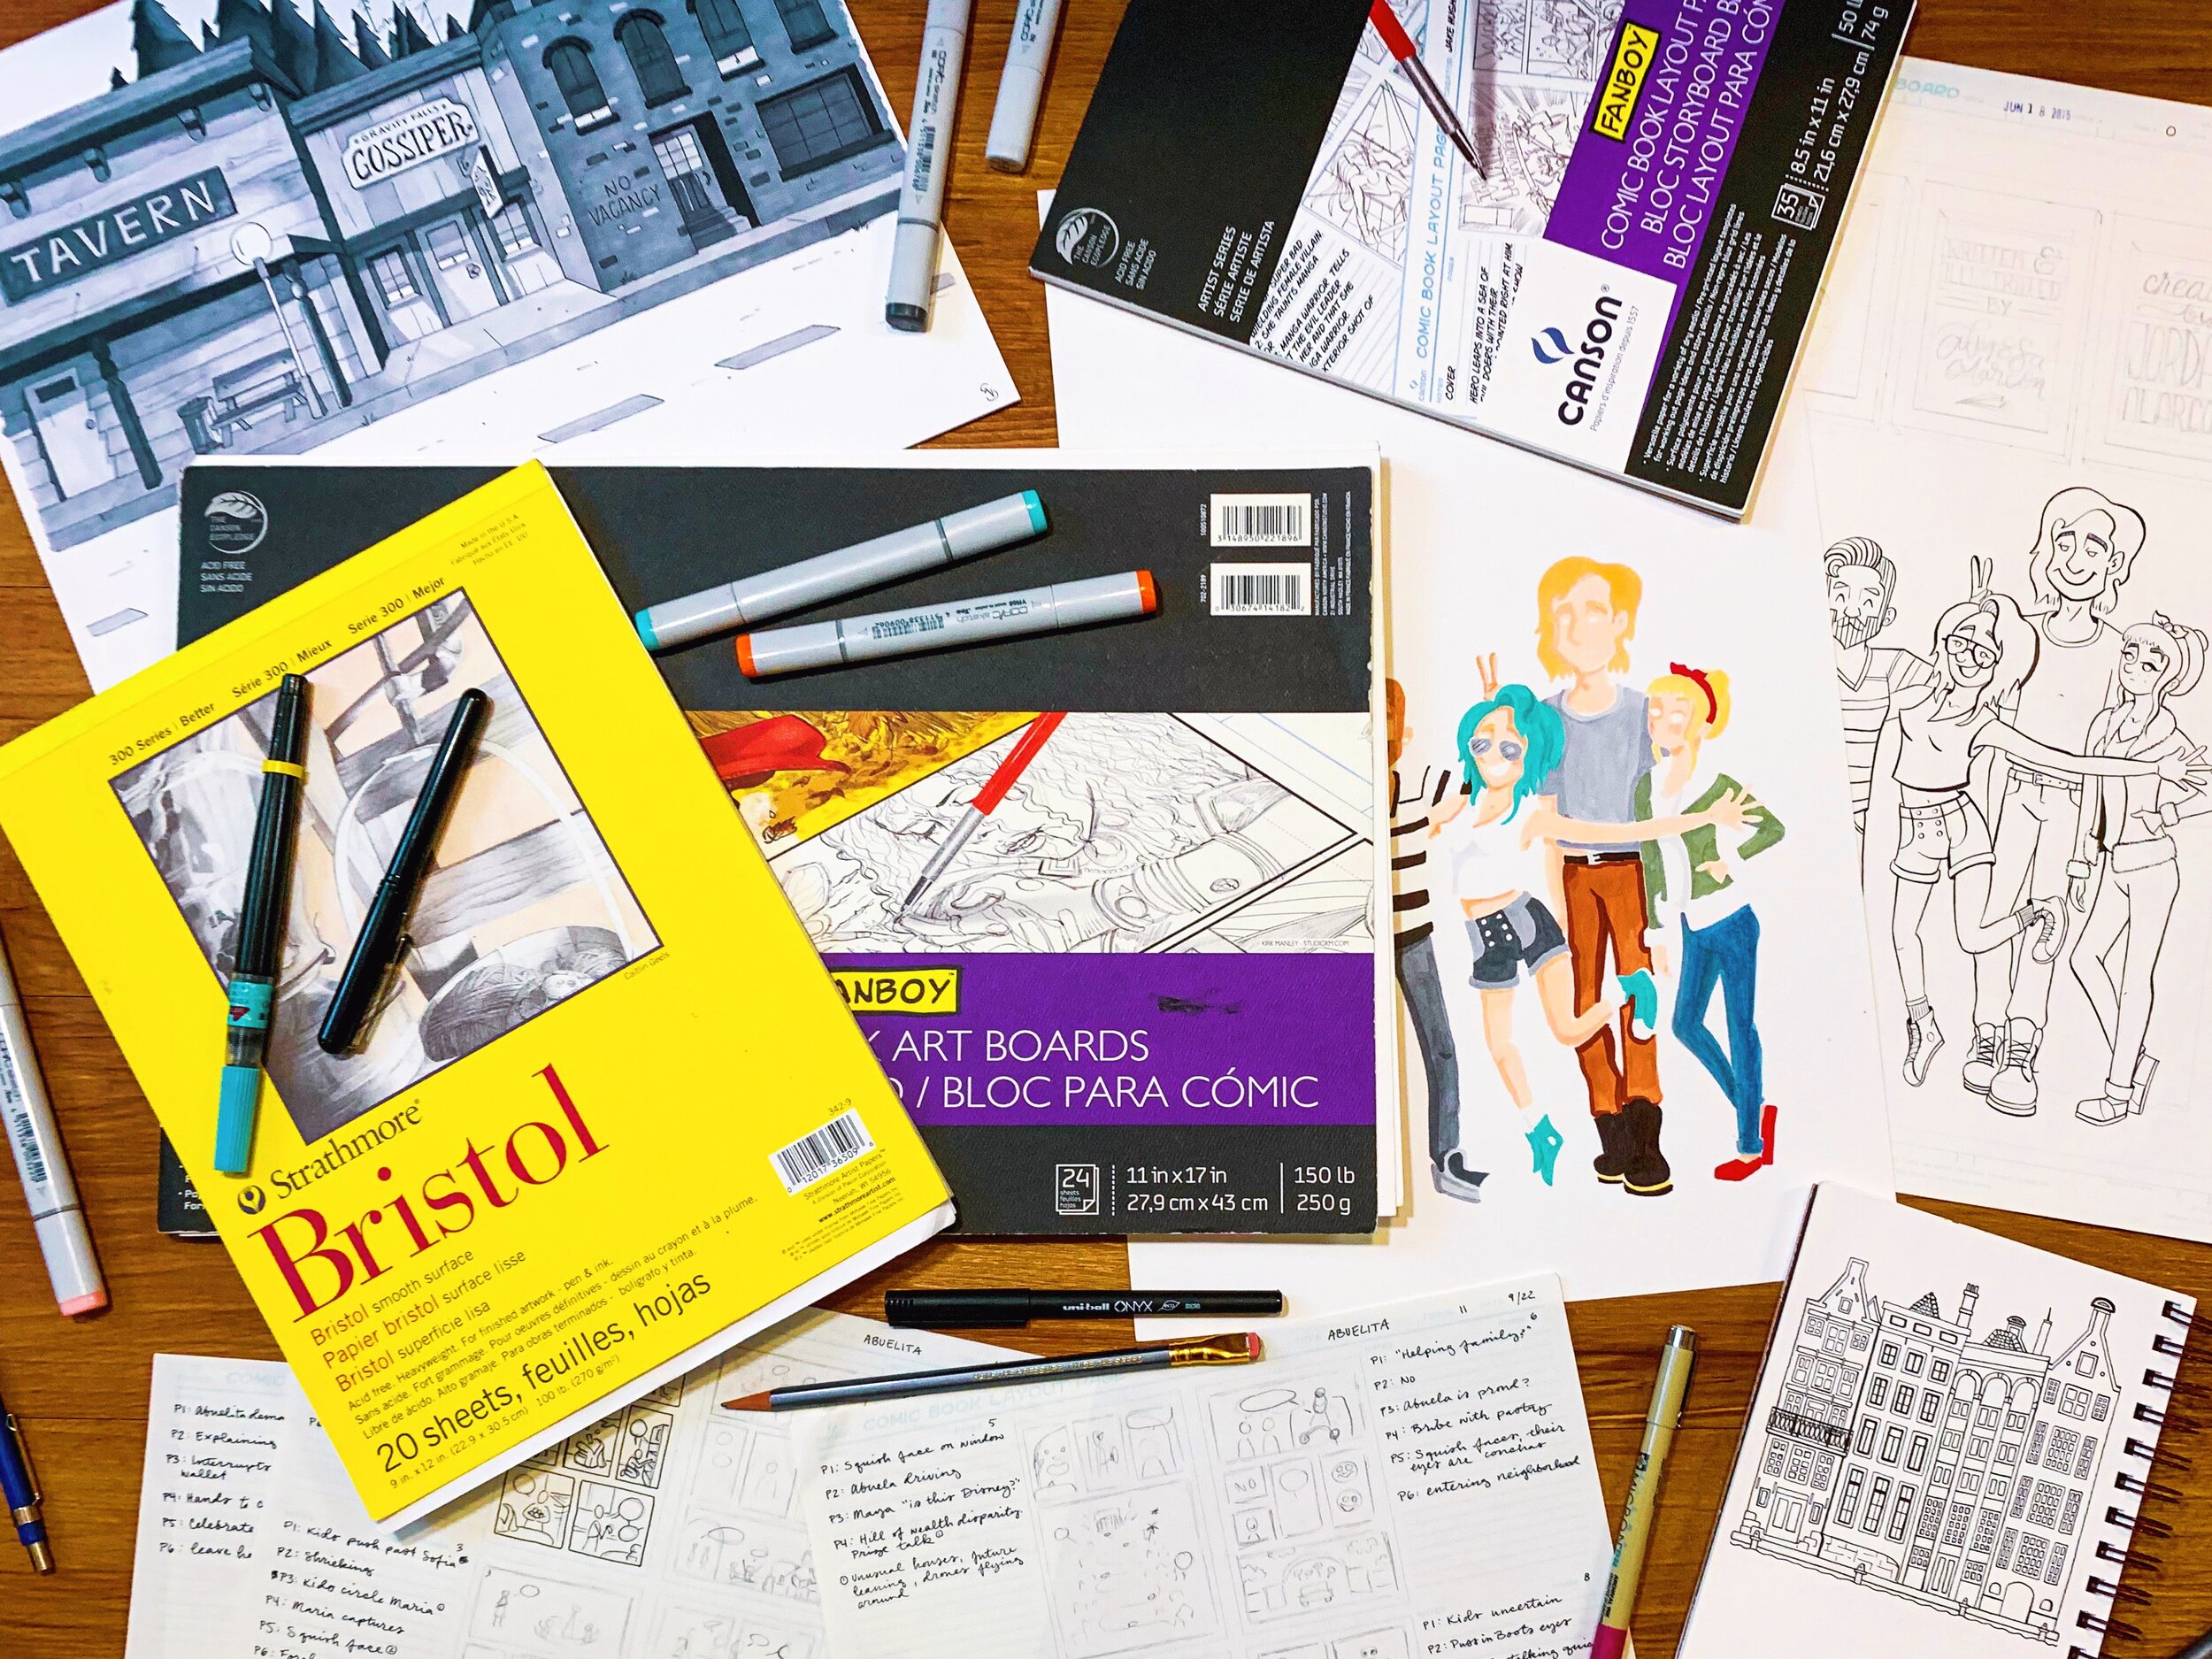
The materials you use to sketch, draw and paint have a direct impact on the final appearance of your work. Match the wrong medium and paper and you could end up with bleeding lines, ripped paper and a wastebasket full of scrapped attempts.
To give yourself the best possible starting point for your next art project, follow these steps:
Decide what medium best suits your concept.
Determine a goal for your project.
Set a budget.
Choose paper size, type, and quality.
Consider going digital.
Start sketching!
Decide what art medium you’ll be using
Have you ever tried to use watercolors on sketch paper? Even with the best of intentions, you end up with something that more closely resembles wet papier-mâché than a piece you can hang on the wall. Different papers are designed for different levels of wear and tear, so it’s important to anticipate your future needs from the beginning.
Your first step to choosing the appropriate art paper is to pick your medium. Do you prefer to sketch with colored pencils or graphite? Will you ink with a nib pen or markers? If you add color, are you using wet or dry media?
If you’re an artist who already has a preferred medium, this process will be easy. But if you like to experiment, you may want to be more deliberate in your choice. I worked in a tattoo shop while initially learning to draw and picked up their habit of starting my sketches in red pencil, then using a lightbox to apply clean ink lines on a new sheet. However, this is not a one-size-fits-all solution.
Get to know your tools first. This will immediately eliminate certain types of paper - and if you’re like me, with a veritable mountain of drawing pads, that’s an important step.
Determine your goals
When you sit down to sketch with a clear concept in mind, you’ll often find that the ideas flow easily. If you don’t know what you want to create, the blank page can feel vast and intimidating. You might freeze up just as you’re putting pencil to paper and get so lost in the paralysis, you draw nothing at all.
Some goal suggestions to consider when you want to draw, but you just feel stuck:
Planning out a long-term project: Sketchbooks are a great place for brainstorming. I like to use some of my bigger paper pads to make color-coded bubble maps.
Designing a character: You can warm up your creative muscles by drawing your interpretation of your favorite TV character—or even design someone of your very own!
Practicing technique: As much as we all want to wake up one morning and be able to draw perfectly, things like perspective, anatomy, and even a basic straight line only improve with consistent practice.
Creating content for social media: In this day and age, it’s increasingly important for working artists to have active social accounts. Posting anything is better than waiting to have a perfect piece (I’m still learning this too) so why not use this practice time to create some content?
It’s okay if your sketches are the sort of practice you never show another soul. Every artist has that ever-growing stack of abandoned work that hide in dark drawers, under the bed, and in that bulging portfolio bag left over from art school. We all want to give off the air of effortless perfection and getting it right on the first attempt, but the truth is no one’s first try is that great. Iteration and thoughtful editing are important parts of the creative process.
Don’t let the tedium of practice get you down—a sketch might surprise you! As your practice becomes more consistent, you’ll encounter more moments when the ideas in your head actually come to life on the page. You don’t have to wait for perfection to share your work with friends and family. Hang your favorite pieces above your desk for inspiration, practice a little every day, and mastery will come with time.
The Imperfect Sketchbook
Sketching serves many purposes, but at the core, it’s always about getting ideas out of your head and into the physical world. When we see artists we admire posting pictures of their beautifully composed, perfectly colored sketchbook pages, it’s easy to get swept up in the idea that everything we draw must be beautiful. But sketching is crucial to the project planning phase, where you need to work through rough ideas so you can sculpt them into your shiny, ideal final product. Your concept sketches probably won’t be beautiful, but that doesn’t make them any less deserving of space on a page.
Messy, quick, and probably unintelligible to anyone but you, this type of sketching may not be the kind you show off to the world, but it lays the foundation for better art.
I recommend that you keep a few sketchbooks in varying sizes just for brainstorming. Artists need space to create without thinking of the outside world and what others will think. Sometimes you just need to scribble it out before you can create something you want to put in your portfolio.
That being said, sketching can also be an end unto itself. The tradition of creating beautiful sketchbooks dates all the way back to the Renaissance. Da Vinci’s sketchbooks are a prime example. They’re beautiful, but they also show the artist’s thought process, planning stages, and creative life - the vital work that brought his masterpieces to life.
Even before the invention of the camera, artists were frequently commissioned to capture notable events in sketch. Today, we can easily record any moment and share it on Instagram for the world to see. But if you wanted to capture the spirit of your 17th century masquerade, you needed an artist on hand.
In this century, you can scroll through a myriad of instagram hashtags like #artjournal, #sketchbookart, and #urbansketching to see how some artists are able to turn their simple sketchbook into an art piece of its own. Don’t get discouraged—I guarantee you that there are plenty of practice pages and hours of planning that go into making an art book.
If you’re sketching in this tradition, choose a dedicated sketchbook, perhaps a sturdy hardcover, that you can take out into the world. I like to use this opportunity to treat myself to a nicer quality book since I buy them less frequently.
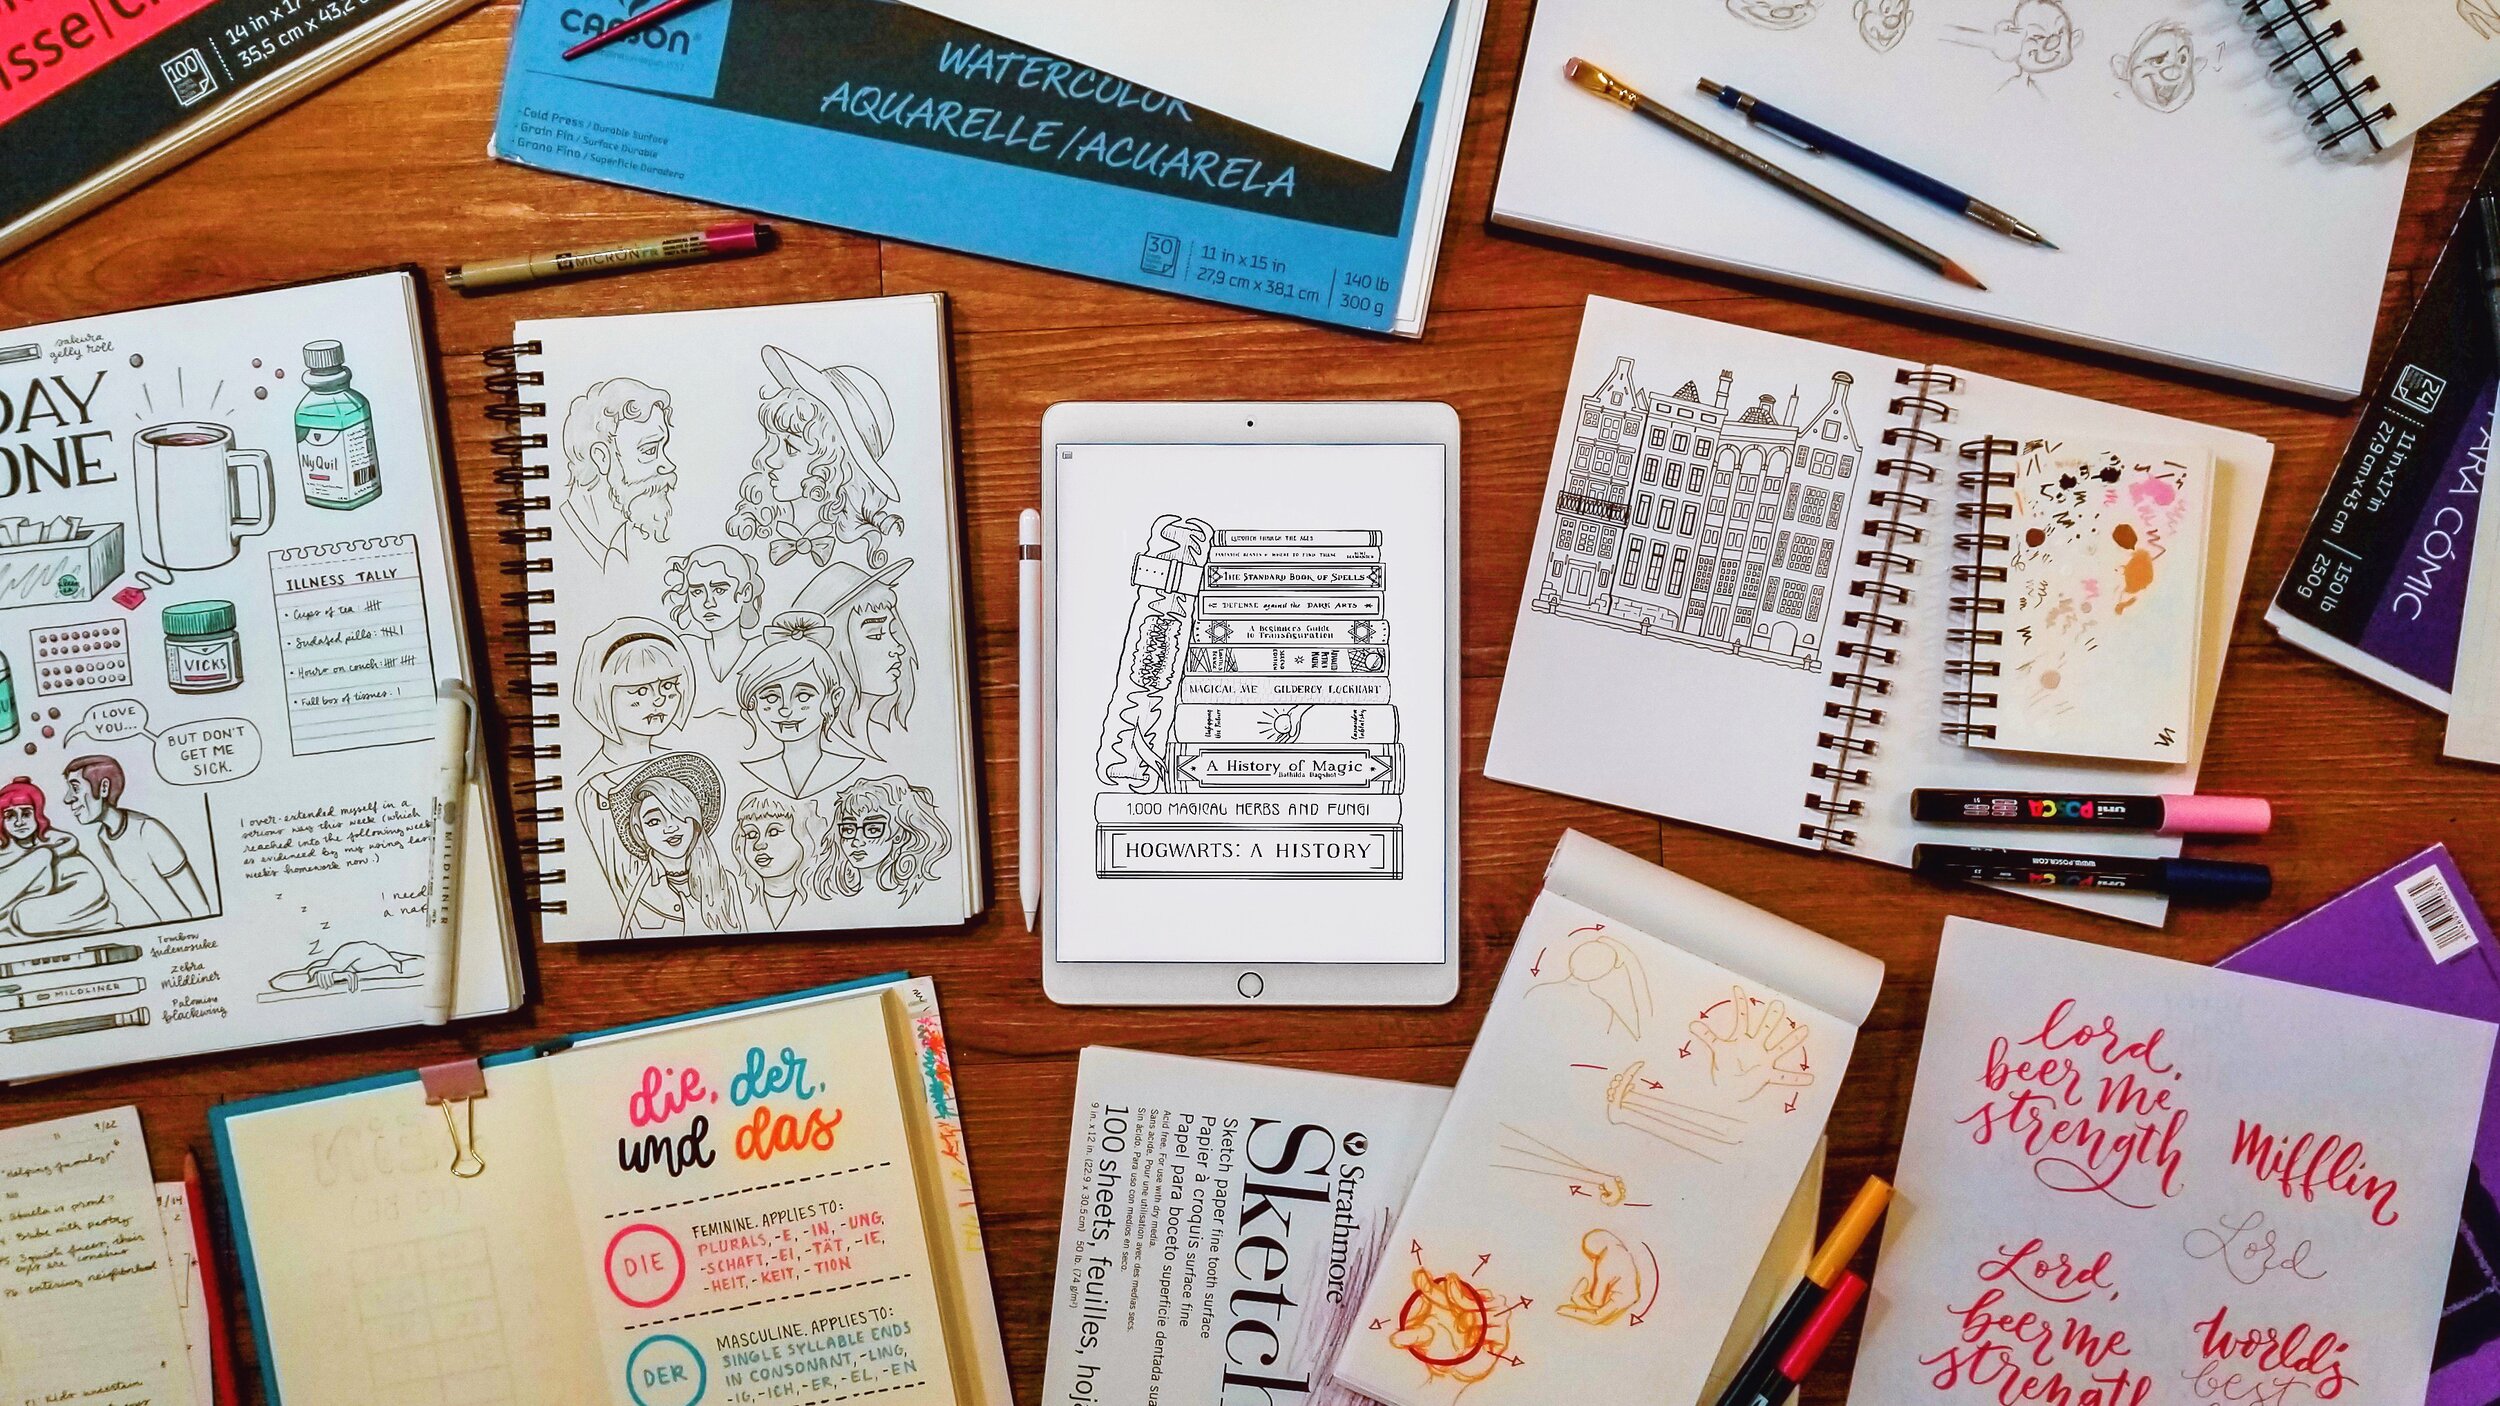
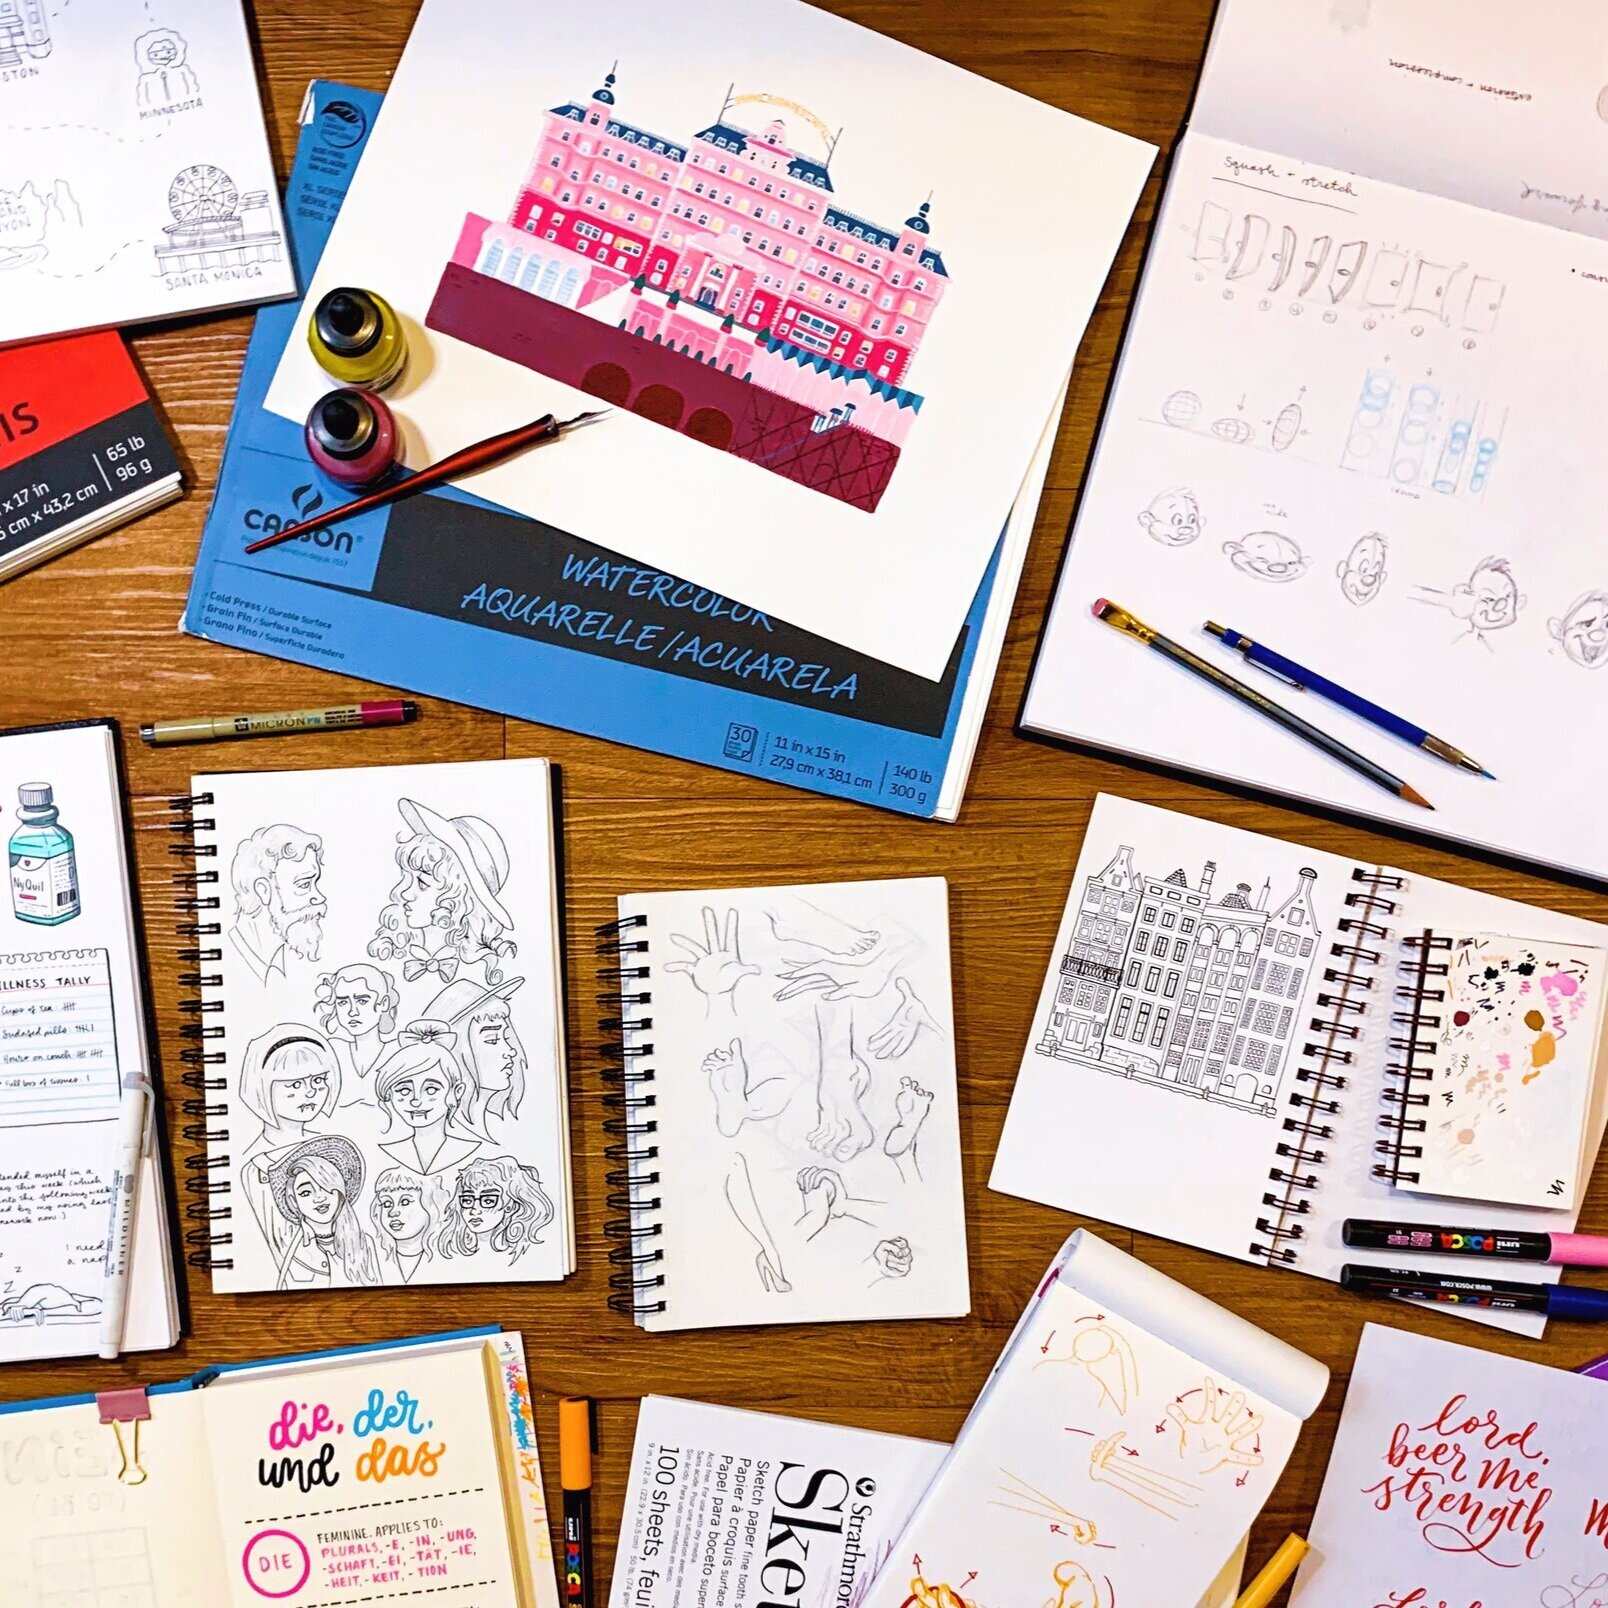
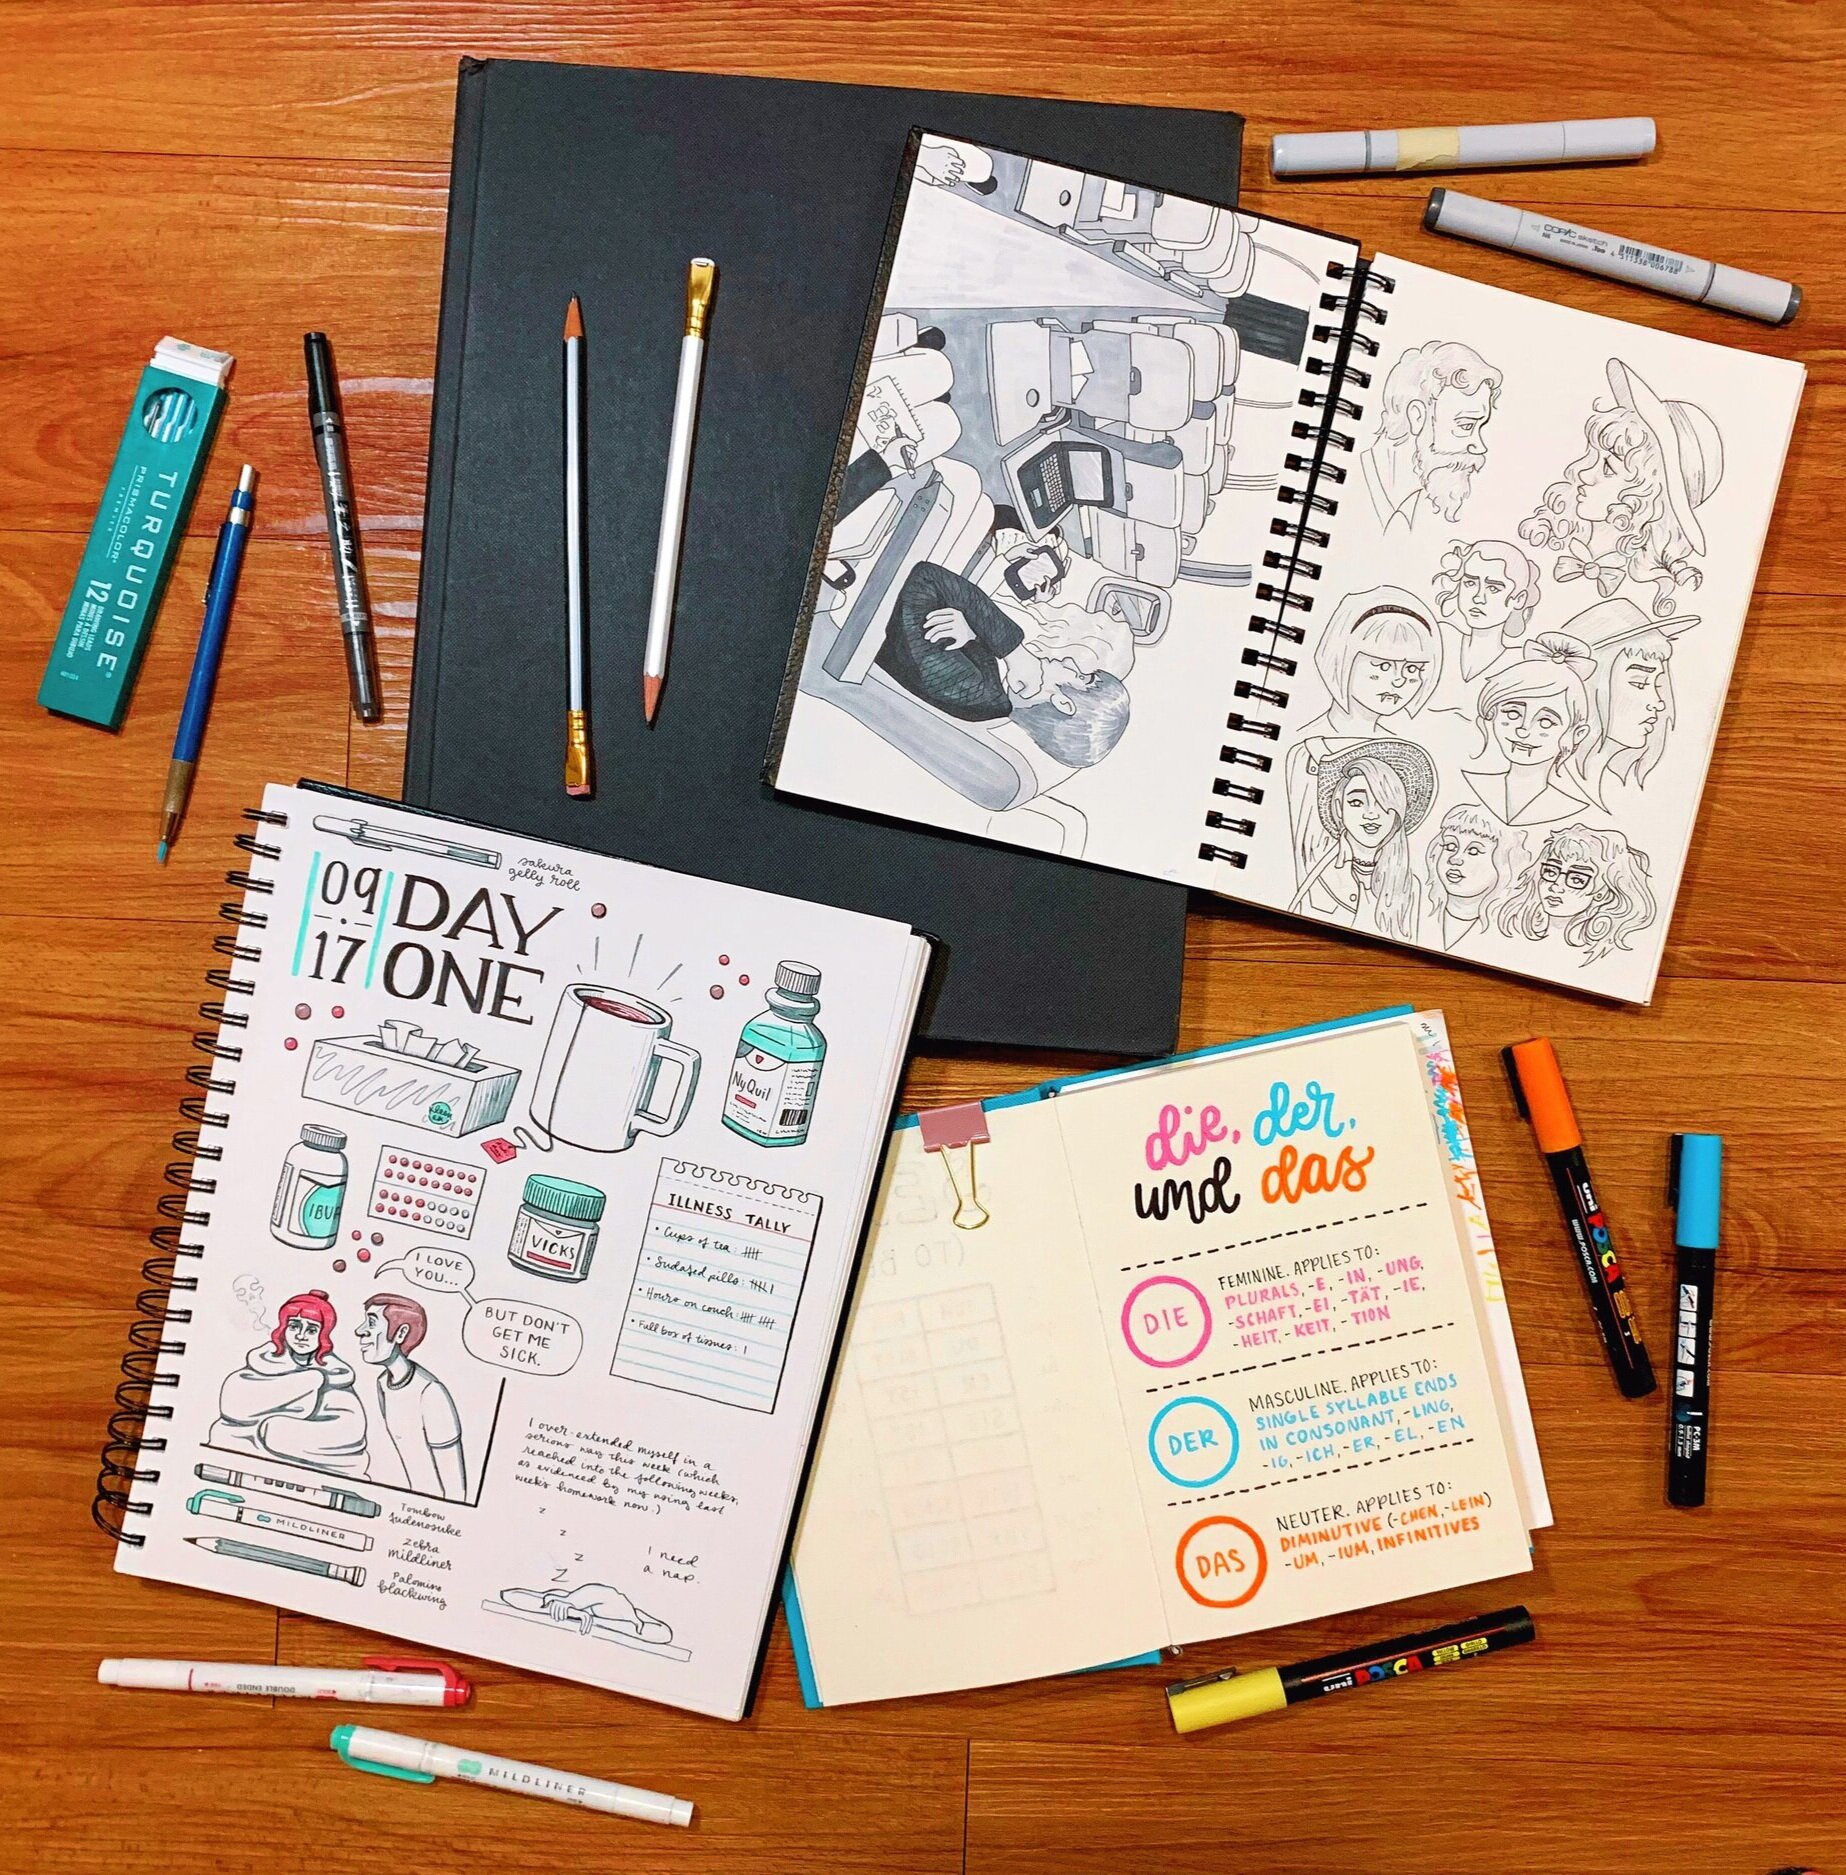
As you can see, I have significantly fewer “nice” sketchbooks that I try to treat with more intention. One is a daily journal I may or may not share someday, one is where I take notes when watching online courses to refine my skills (shout-out to Skillshare), one is for drawing from life when out and about, and the other is for trying to make German grammar practice more fun via color coding.
Set a budget
Art paper is more expensive than the kind you put in your inkjet printer. If you have the resources to do so, invest in quality materials. When you have paper created specifically for your chosen medium, you won’t have to fight against the materials to get your ideas down.
Working with the wrong type of paper is frustrating and ultimately leads to discouragement when your piece doesn’t come out as desired. Using the correct type of paper allows you to focus on what’s important: Your art.
What if you’re just getting started?
When I first decided to get serious about illustration, I drew on anything I could get my hands on. Lined notebooks, scraps of menus from work, the pad of tracing paper my friend had left over from elementary school. I didn’t prioritize getting appropriate tools until I realized that I wasn’t a bad artist, I was just using the wrong materials. As it turns out, hand lettering looks better if your markers are able to glide across slick paper. Watercolors can actually blend as they should when they’re on paper that doesn’t immediately break down. That’s not to say quality art can’t be made with anything available, but planning ahead can take a lot of stress and guesswork out of the process.
If your paper budget is small, don’t worry too much about quality. There are plenty of introductory options—simply be mindful of the category of paper you’re choosing. At the end of the day, cheap watercolor paper is still going to be better for watercolors than expensive marker paper.
Even now that this is my full-time gig, I tend to only buy sketchbooks when they’re discounted. I’ve found you’ll get better quality products at a better price by going to dedicated art stores rather than stores like Target (or even Michael’s). My favorite is Artist and Craftsman Supply, should you have one near you. Signing up for newsletters from stores like Blick will get you frequent coupons that can help cut your costs.
If your supply budget is non-existent, you don’t have to give up on your ambitions. Drawing anything is better than drawing nothing, after all, and every sketch you make adds up to proficiency. A former teacher of mine, comic artist Raul the Third, has developed a unique art style built around his childhood gravitation towards your standard BIC pen. In class, he explained that he carried this method over into his professional career because he wanted to be an example to young artists: You can create whether or not you have access fancy supplies. That really stuck with me and helped me learn to value each stage of my artistic journey.
Choose type of paper, size and quality
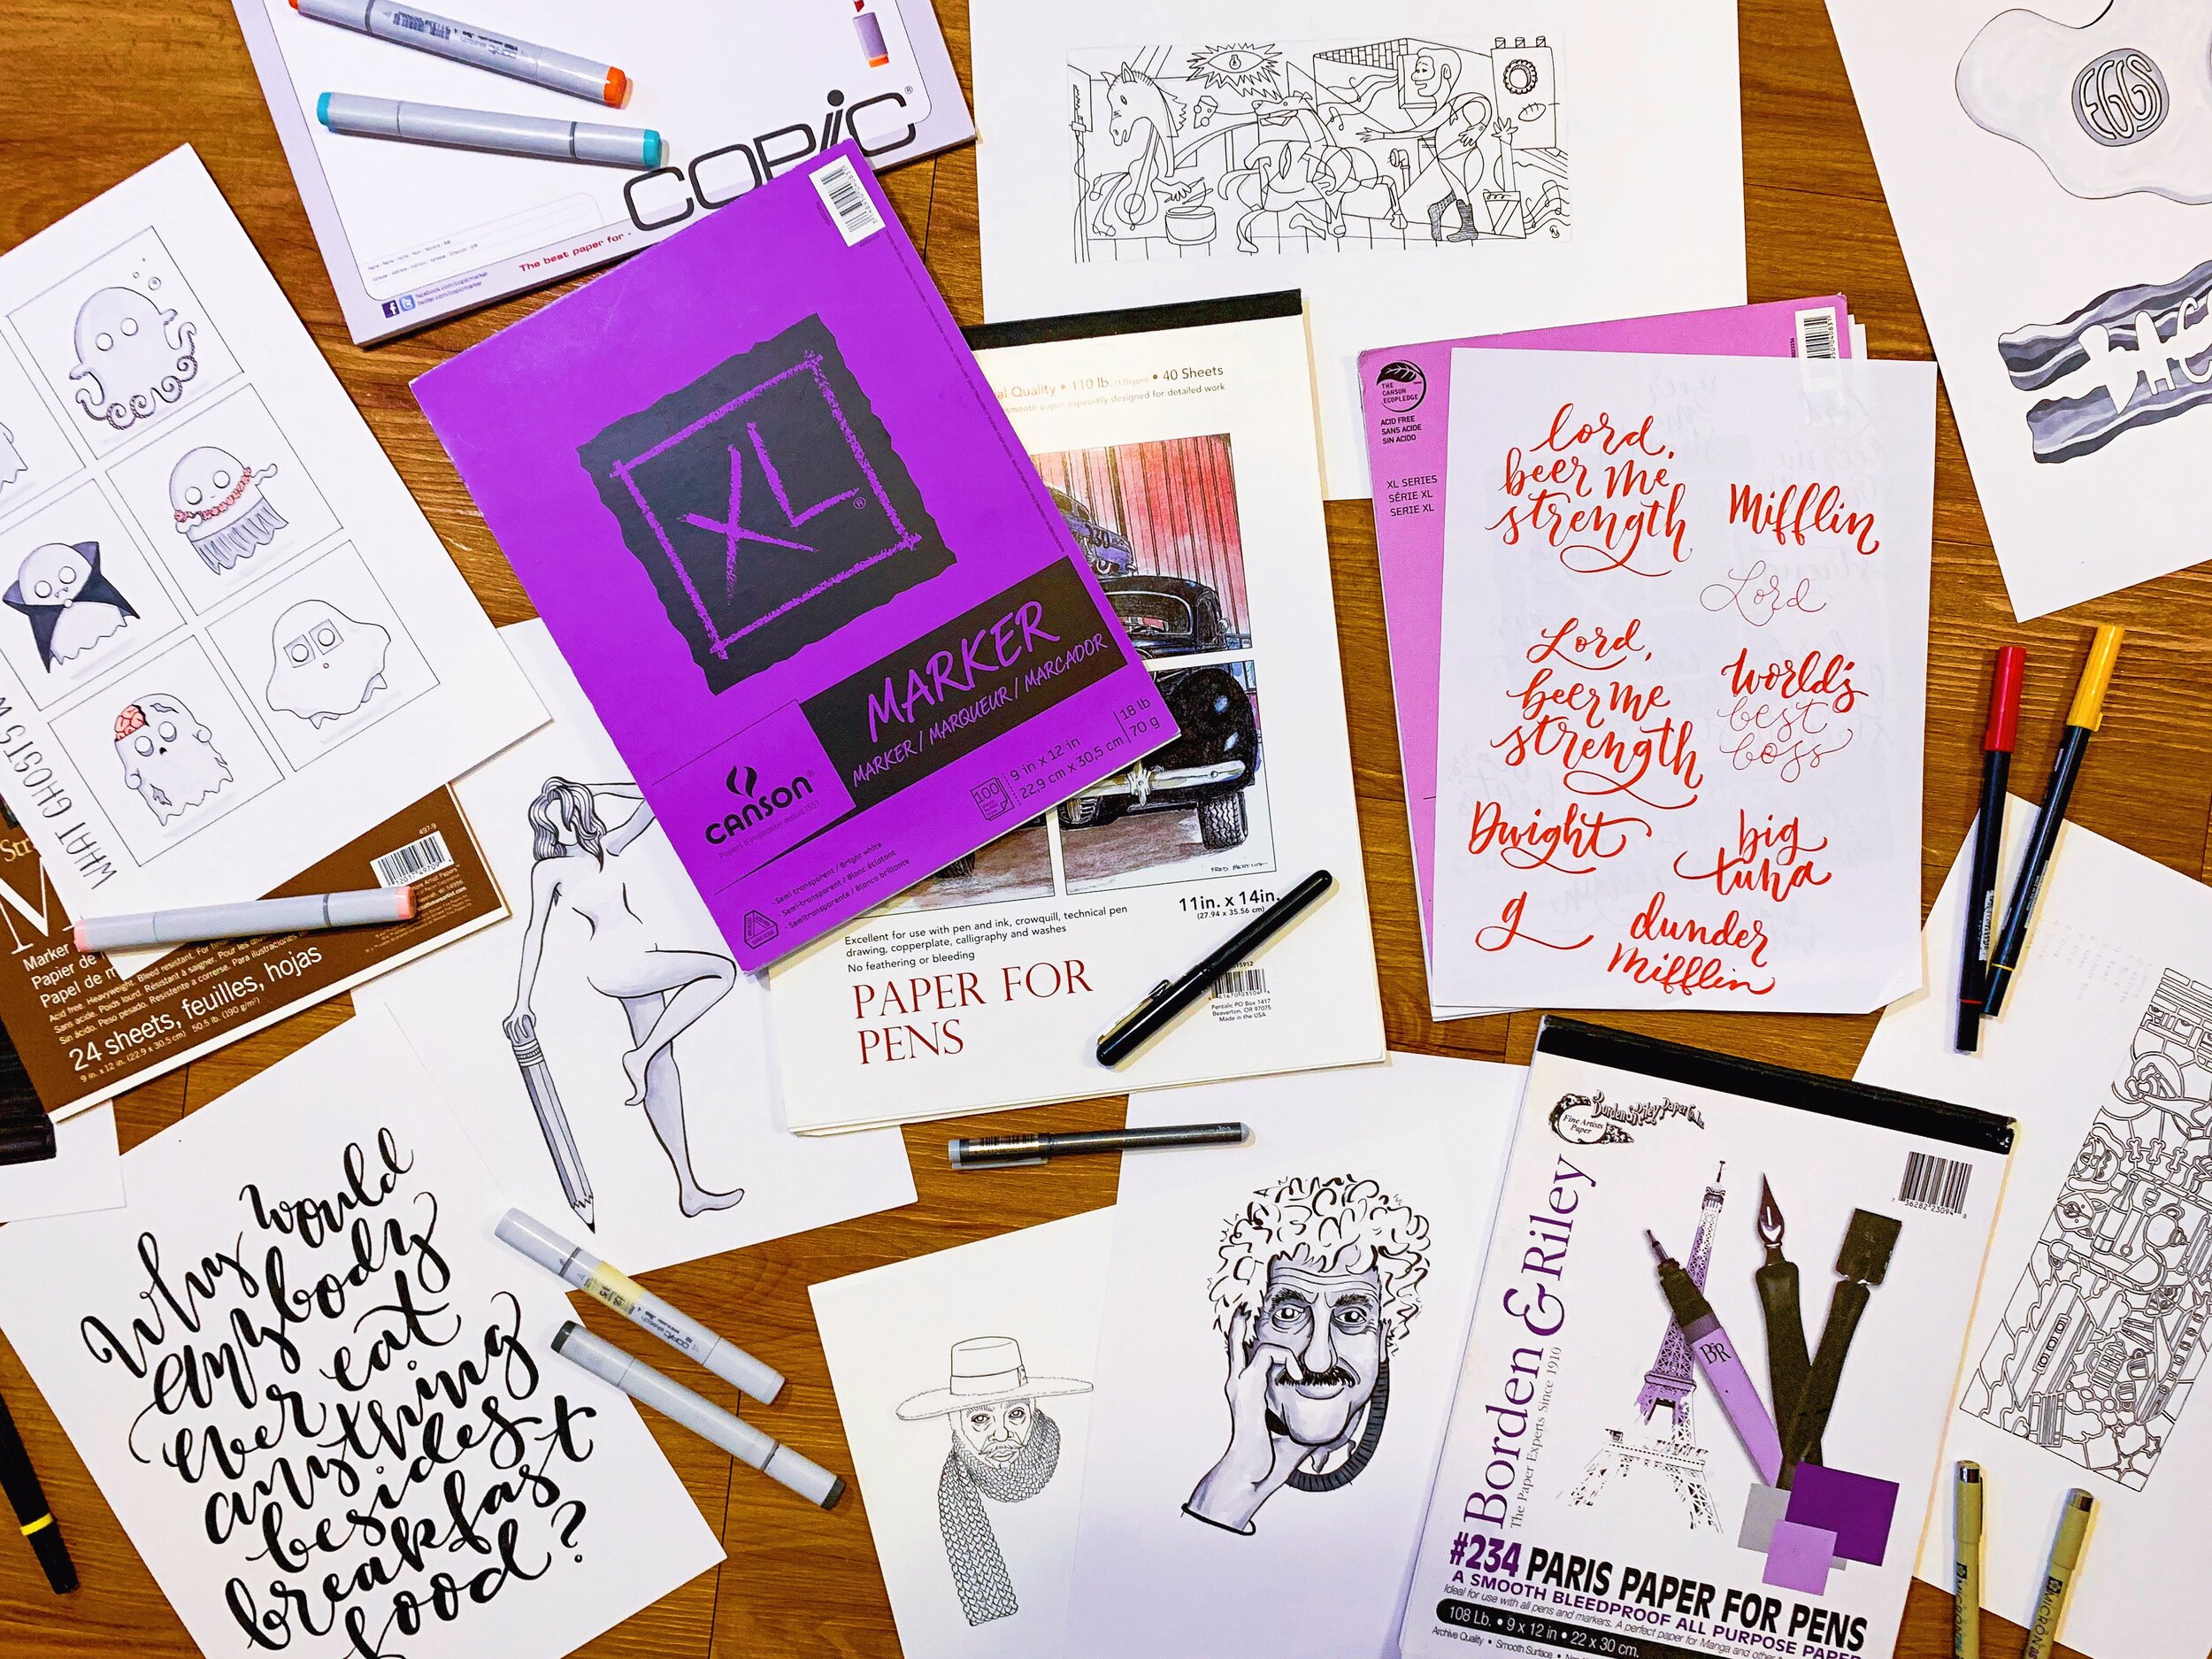
Personally, I like to have multiple sizes of sketchbooks for each of my preferred types of paper. Small sketchbooks are transportable for excursions to cafes and into nature while big sketchbooks provide more freedom to explore and play. If you need a little guidance on what type of paper might suit your needs, I’ve broken down the tools I use and what paper I choose to accompany them.
MARKER PAPER
Good for: Pen and ink, Copic markers, hand lettering.
Marker paper is thin and very smooth. It should have almost no bleed-through, which makes it ideal for use with alcohol and pigment markers. The ink glides on top of the paper rather than sinking into it. When using alcohol-based Copic markers, this type of paper will allow you to bend colors without smudging your lines or ripping the page.
What to watch out for: Cheaper marker papers may still have more bleed than you want. Some stores will let you test out the product before you buy, so when in doubt, as an employee if you can do a test run with your preferred marker.
Cold-pressed watercolor paper
Good for: Watercolors, acrylic ink, gouache.
Cold-pressed watercolor paper is slightly textured, but not as rough as hot-pressed paper. It’s great for both large watercolor washes and detailed ink work. I typically work with acrylic ink over watercolors and since I ink my linework with a nib pen, I prefer the smoother texture.
What to watch out for: Cold-press paper is typically much pricier than hot-press. Before buying, research what painting techniques work best for each type and then choose accordingly.
Standard sketch paper
Good for: Pencils, pens, colored pencils.
Sketch paper is usually lighter than drawing paper. It’s intended for quick work and experimentation. In my opinion, the cheaper your sketch paper, the better. If you put too much time and effort into your initial sketches, it’s more likely that you’ll get stuck focusing on unnecessary minutiae rather than freely exploring your ideas.
On the other hand, if your goal is to create an artbook, you may want to splurge on a hardcover sketchbook with acid-free paper.
What to watch out for: As I said, the cheaper the better with standard sketch paper. Places like Target and Michael’s (unless you’ve got that sweet 50% coupon) vastly overcharge for items like this so it’s better to keep your eye out for a dedicated art store.
Comic layout pages
Good for: Pencils, pens, note-taking.
Thumbnails for comic book pages should be fast and sketchy. Don’t worry about whether or not the shapes and squiggles accurately represent anything. At this stage, all you’re trying to do is feel out the flow of your page spreads. As you’re working through your script, thumbnails help you to determine what each scene will actually look like on the page and how many panels it will take you to get there.
I like to create quick, messy thumbnails in pencil, revise the flow of the panels, then digitally ink over each one.
What to watch out for: Honestly, you don’t really need to buy specific paper for thumbnailing. If you’re working on a long project or you feel like drawing bounding boxes impedes your creative flow, it’s a nice tool to have. I personally work better with a little pre-existing structure and I found I was getting so hung up on drawing a nice layout to house the thumbnails, I never actually got to the thumbnailing part. Buying this layout pad cut out a whole process that was rife with procrastination.
Smooth Bristol paper
Good for: Pencils, pens, markers, ink.
Bristol paper, named for the famous paper mills in Bristol, England, is a multi-ply paper generally used for drawing. It is constructed from two to four plies with outward-facing felt surfaces. The more plies there are, the more sturdy the paper feels.
Smooth Bristol is great for detailed drawings. This is the kind of paper you should save for your final products, long after the sketch round.
What to watch out for: Comic artists who ink traditionally typically use 11x17 Bristol board after they’ve finished penciling out their compositions. You can buy pre-marked comic Bristol pads, like I have, or you can draw all of the margins in yourself with a sturdy T-square ruler.
Vellum Bristol paper
Good for: Pencils, charcoals, pastels, crayons.
Vellum-surface Bristol paper is also constructed with multiple plies. The main difference from the smooth variety is that vellum has a slightly rougher texture. That’s what makes it ideal for dry media like charcoal. You can get deeper shading with vellum Bristol, compared with the smooth variety.
What to watch out for: If you’re planning to work primarily with pastels or charcoal, they do make papers specifically for those things and they’re probably cheaper than vellum.
Consider digital
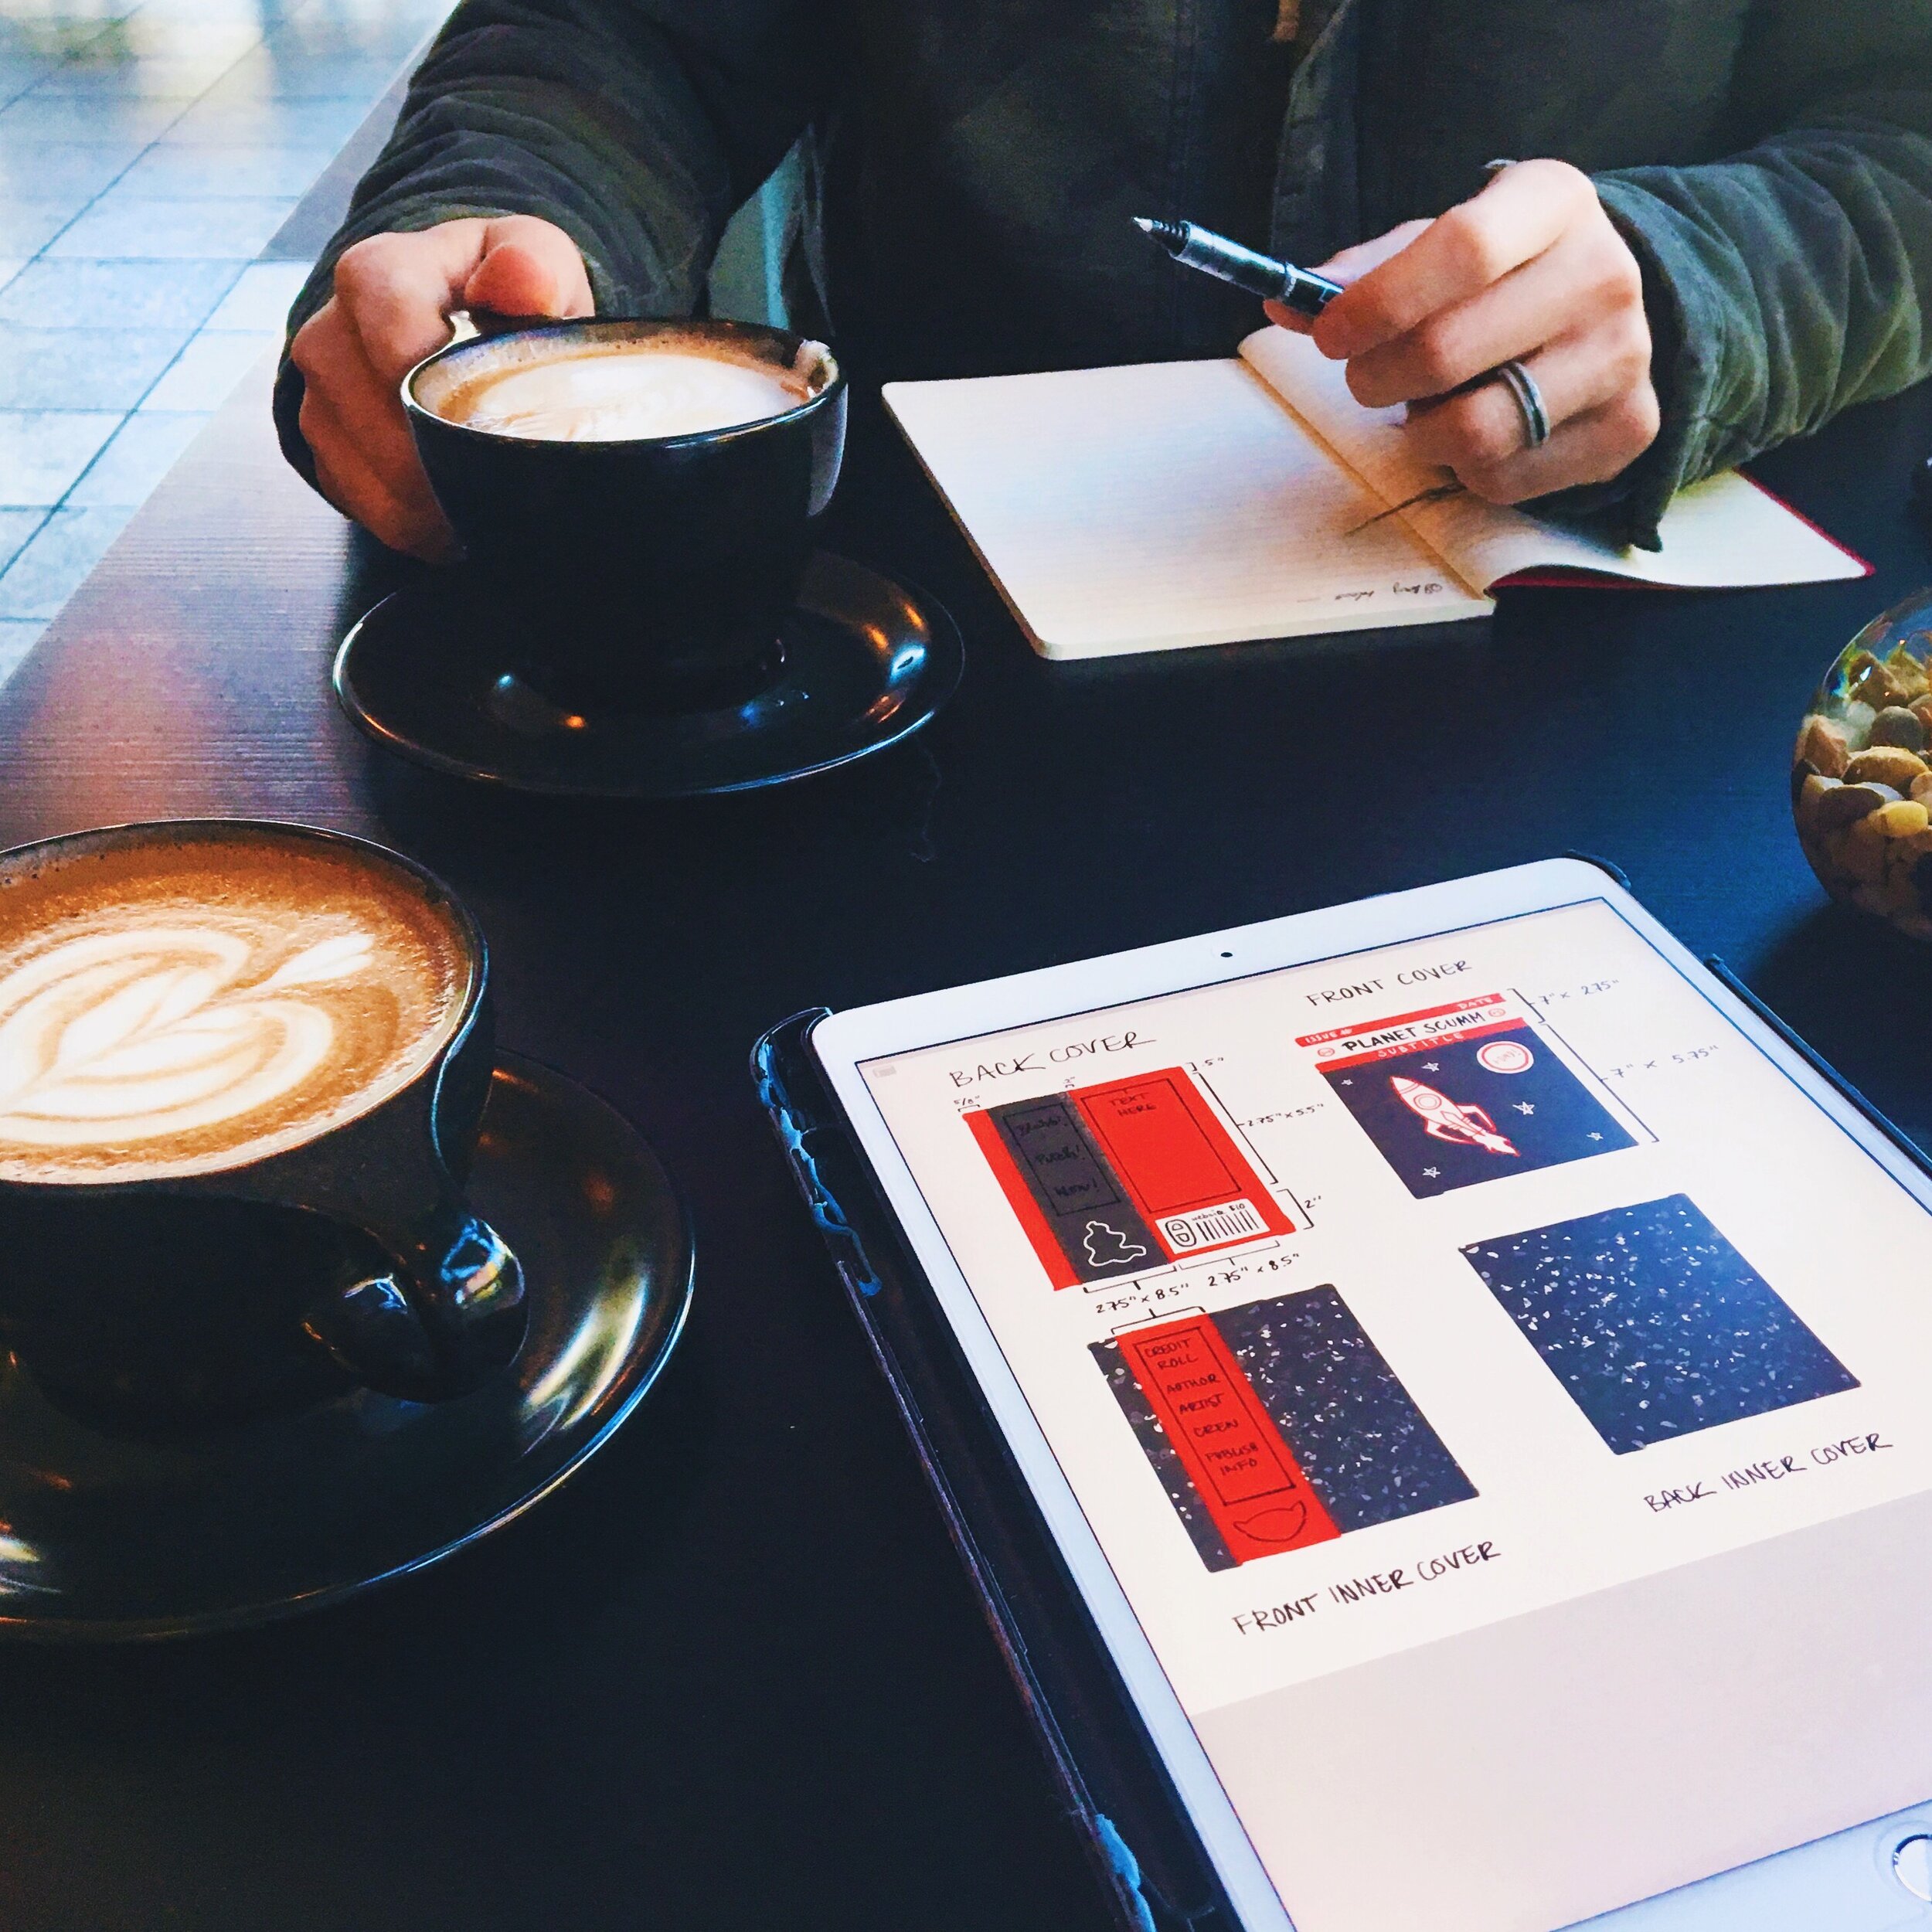
These days, you might not even choose to sketch on paper. While nothing ever feels as satisfying as successfully drawing a clean line on paper, I tend to use my iPad Pro for sketching more often than not, especially for commission work. I sketch all of my concepts out in Procreate and when I’m happy with that first draft, I port the files over to Photoshop.
A few reasons I like to use Procreate for sketching include:
Flexibility: I can bring my iPad anywhere. As long as I’ve remembered to charge it, I’m not restricted to an outlet. I don’t have to carry a huge pencil box that I’m prone to spilling. I can get work done on flights, in doctor’s waiting rooms, or sitting at my favorite coffee shops. If I’m drawing a cool building I found on vacation, I can snap a picture from my vantage point so I can refer back and finish it up later. Better yet, working with layers during the sketching process has really streamlined my workflow. I no longer have to go through twenty pieces of paper, redrawing the same thing over and over, to refine my ideas.
Photoshop compatibility: I love that Procreate’s files interface easily with Photoshop. I have a Wacom Cintiq, but its tethered nature doesn’t lend me the freedom of an iPad. While my projects still tend to change drastically after being moved into Photoshop, I find that I start from a much stronger place if I’ve given myself the time to work through them in Procreate first.
Program versatility: In Procreate, it’s really easy to change colors, amend composition, and tweak perspective. The color changing feature especially brings me joy because I don’t know about you, I rarely choose the best possible color scheme on the first try.
Start sketching
Taking the time to choose the right types of paper really gives you the freedom to explore your ideas free of annoyances. When you’ve carefully selected your materials, you can jump right in - and when you’ve found that elusive creative flow, awesome things happen. You may even surprise yourself.

